Ceiling repair can be a challenge when done correctly. It is often not the repair but the texture work after the repair is complete that makes or breaks the success of the repair. I always say that if you can find the repaired area, it is a failure. That is tough to accomplish. Many years ago I did work for a restoration company in Omaha and got so good at the drywall repair and texture work that they use to send me out instead of the dry-wall contractors. Sometimes being a perfectionist is a good thing.

Doing the repair is a slow, meticulous process and will take a few days since there are dry times involved. This is not something you want rushed or it will look like it was.
This is not something I would suggest a homeowner try on their own but I will go through the general steps so you can spot if someone is skipping steps or rushing it.

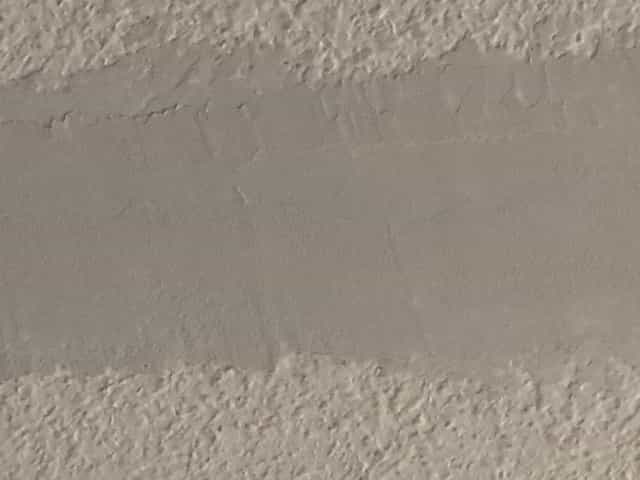
If you have a crack on your ceiling it will likely be at a tape joint. Whether it is on a tape joint or not and whether it is on a ceiling or wall it will need to have the loose material removed, be sanded and re-taped. You want the repaired area sanded lower then the textured area and the layers of mud should be applied after adequate dry times and proper sanding between coats of mud.
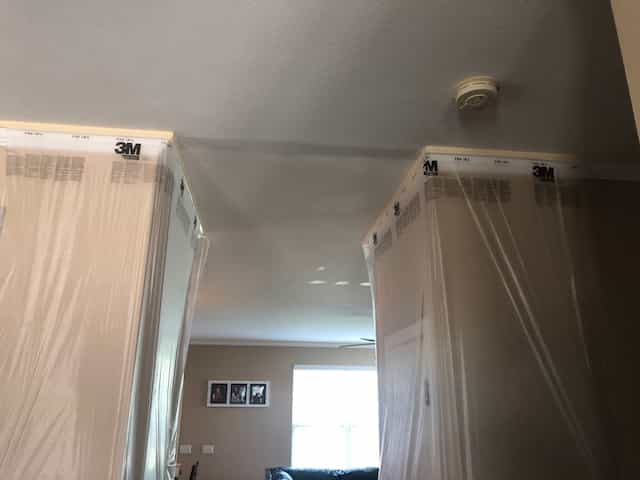
Needless to say all this type of work creates a lot of dust and debris. drop cloths, plastic sheeting and a good shop vac are a must.
You don’t want anyone using “hot” or fast set mud. They are just rushing the job and it will show.
In the Omaha area a crows foot texture is common. Smooth ceilings and even a knock down texture is popular too. Practicing the texture on pieces of cardboard is a good idea. The appearance of the texture can be controlled by many factors such as how diluted the mud is with water, drytime before texturing, and technique.
these photos are from a knockdown texture so after everything was ready to go the mud was sprayed on, allowed to set up and then knifed off.
The repaired ares are allowed to dry, primed and then the entire ceiling is painted.
